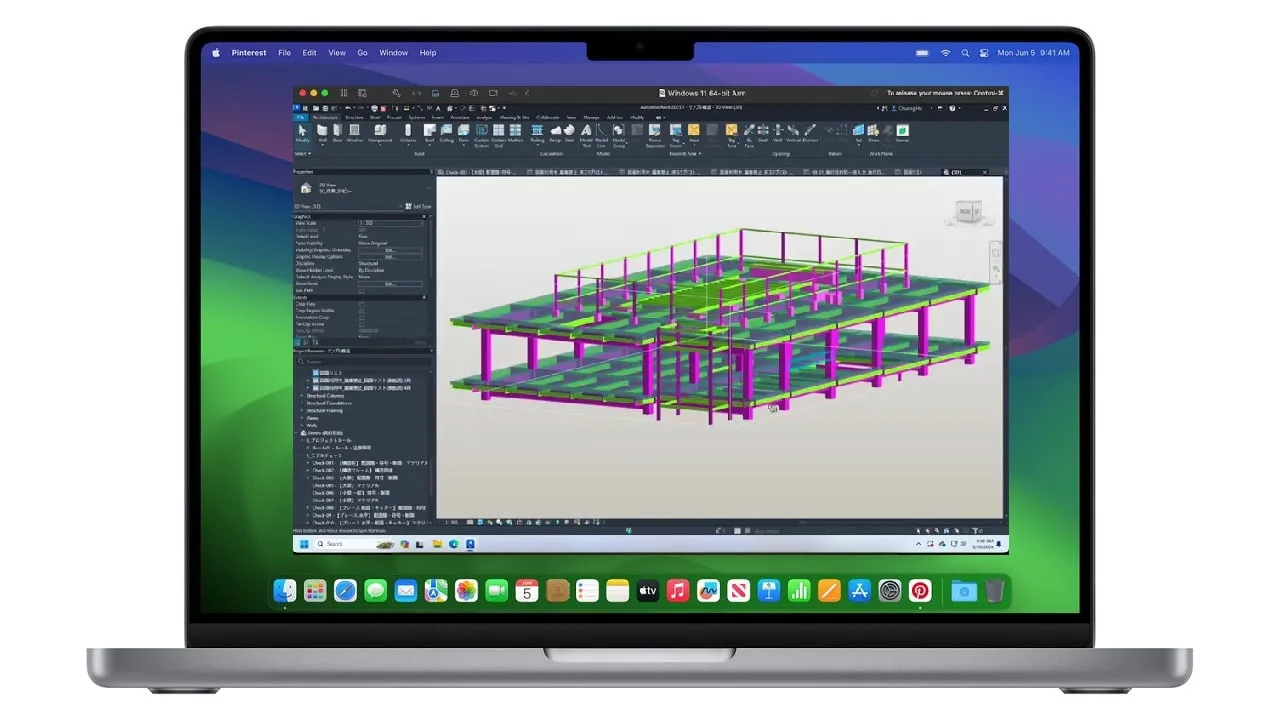
You can run Revit on Mac with workarounds like Boot Camp, Parallels Desktop, VMware Fusion, or VirtualBox
If you’re an architect, engineer, or designer, or a student in these fields, you would have come across this mighty software called “Revit”, while crafting those intricate, (awe-inspiring) 3D building models. Developed by Autodesk, it is often praised as the Holy Grail of Building Information Modeling (BIM) in today’s world.
But, if you’re a Mac user, you’ve probably found yourself wondering if Revit can run on a Mac. Well, not natively, but, there are workarounds that make it possible to run Revit on a Mac—and we’re about to dive deep into those methods that will make life easier for you. You wouldn’t have to switch to a Windows based computer only to use Revit.
What Exactly is Revit? The Software That Architects Can’t Stop Talking About

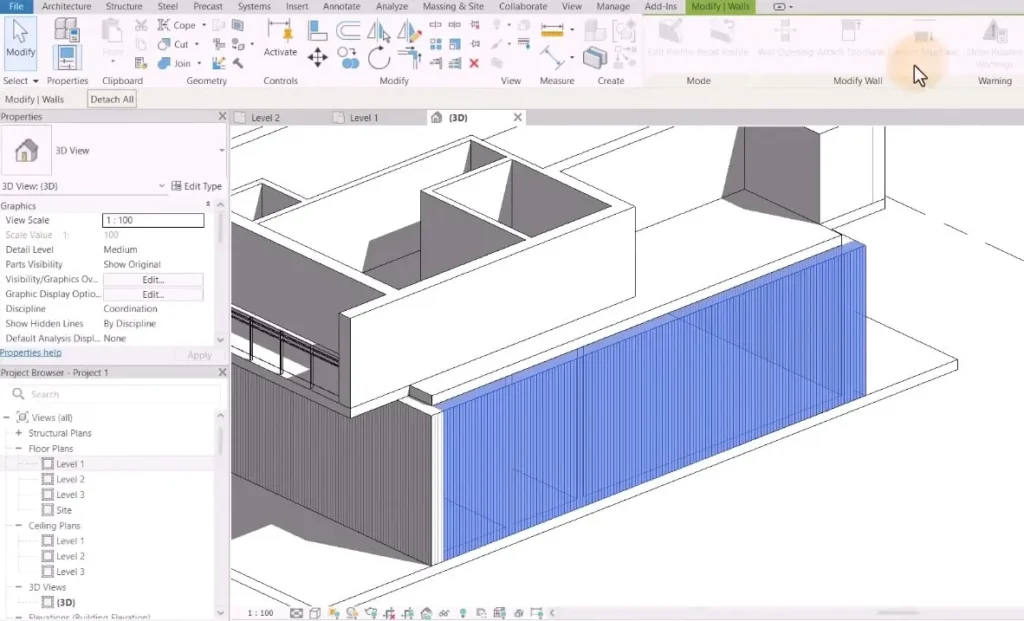
Before we start pulling apart this Mac compatibility puzzle with Revit, let’s take a moment to appreciate the beauty of this software. In simplest possible words, it is a powerful BIM software that allows architects, engineers, and designers to develop intricate building models. Think of it as a digital sketchbook for designing everything from skyscrapers to humble homes, all while making sure that all your planning data stays structured and synchronised.
But, as much as we love Revit, it’s not exactly known for being Mac-friendly. We’ve got to give you the cold, hard truth: Revit isn’t natively available on macOS. But don’t worry, that doesn’t mean you can’t run Revit on Mac. We’ve got your back!
Revit = complex, detailed, mind-boggling, and occasionally frustrating.
Can Revit Run on Mac? Not Natively
Unfortunately, Revit has been exclusively Windows-based for as long as anyone can remember and despite the constant pleas from Mac users, Autodesk has yet to create a native macOS version of Revit as of 2024. So, for now, Mac users have to get a little creative if they want to use this powerful software on their machines.
How to Get Revit Running on Mac: It’s Like a Game of Tech Tetris
Running Revit on Mac is almost like trying to fit a square peg in a round hole—but with some small tech how know and enough effort, it can work.
Here’s the scoop on how you can get Revit working on your Mac, no sweat (or minimal sweat, at least).
1. Running Revit on Mac via Boot Camp
The most native way to run Revit on your Mac (without actually having a Mac specific version) is by using Boot Camp. This is the dual-boot method, where you partition your Mac’s hard drive and run Windows alongside macOS. It’s like installing two operating systems on one machine and switching between them on need basis.
Here’s how to do it:
- Ensure your Mac meets the system requirements for Revit (because, well, even Macs need to be in tip-top shape to run such a heavy-duty application).
- Head to your Utilities folder and fire up Boot Camp Assistant.
- Select the option to create a partition for Windows (note: you’ll need enough free space on your hard drive).
- Pop in a Windows installation disc or use a USB drive to install Windows onto that new partition.
- Once Windows is installed, grab the Revit installer for Windows and run it like you’re on a native Windows PC.
- Reboot your Mac into Windows whenever you want to use Revit. (Note: No multitasking across macOS and Windows here—you’ll need to reboot every time you want to switch.)
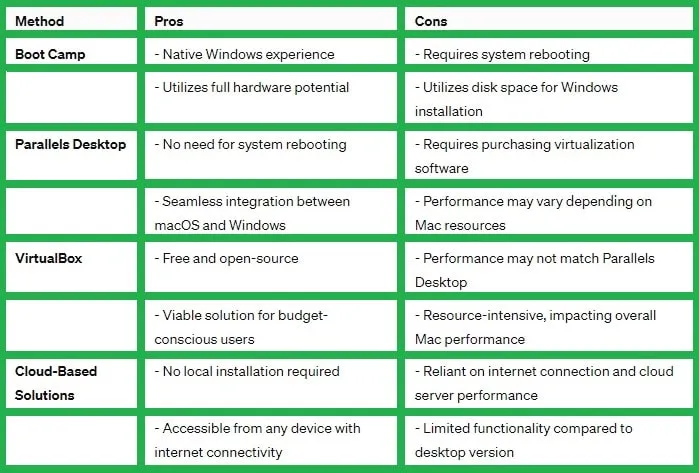
Some of the Pros and Cons of using Revit on Mac with Boot Camp
- Runs Windows (and Revit) natively on your Mac
- Full access to your Mac’s hardware resources
- Free (just the cost of a Windows license).
- Requires rebooting every time you want to switch between macOS and Windows
- Takes up disk space for the Windows partition
2. Revit on Mac with Parallels or VMware Fusion
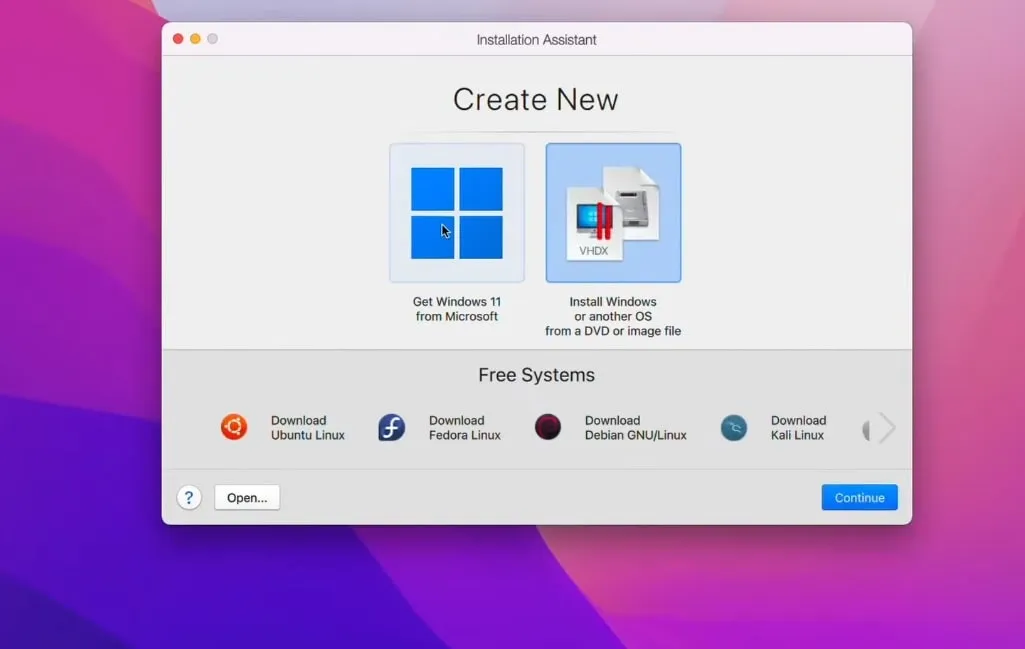
If you’re allergic to rebooting or simply don’t want to mess with partitions, virtualization software is your friend. Tools like Parallels Desktop and VMware Fusion allow you to run Windows inside a virtual machine while keeping macOS as your primary operating system.
Running Revit with Parallels Desktop
Parallels is pretty much the go-to software for smooth, seamless integration. Here’s what you need to do:

- Download and install Parallels Desktop. You can grab it from the official Parallels website.
- Set up a Windows virtual machine within Parallels by following its simple prompts.
- Once Windows is up and running, download and install Revit software on it (just as you would on a normal Windows PC).
- Allocate enough resources (CPU cores, RAM, storage) to the virtual machine, especially if you’re running high-powered software like Revit.
- Open your Windows VM in Parallels and launch Revit like you’re on a Windows PC—but no rebooting required!
Parallels or VMware Fusion Pros cons for Revit on Mac
- No need to reboot to switch between macOS and Windows
- Seamless integration between both operating systems
- Requires purchasing Parallels Desktop (not ideal for those on a tight budget)
- Performance may vary depending on your Mac's resources
3. VirtualBox: The Budget-Friendly Alternative
While Parallels counted as the king of virtualization by many, VirtualBox is the free (and somewhat less glamorous) alternative. If you’re feeling the pinch of the wallet, don’t want to spend, this option allows you to run a virtual Windows machine on your Mac.
The steps are simple:
- Install VirtualBox and set up a Windows virtual machine.
- Download and install Revit inside this VM.
- Prepare for sluggish performance, especially if your Mac isn’t loaded with RAM and processing power. It works, but it’s not going to win any speed awards.
Some of the Pros and Cons for using Virtual Box for running Revit on Mac PC
- It’s free! (Always a positive, if you are on budget)
- A decent option for budget-conscious users
- Performance can be a bit of a lackluster (especially if you have a lower-end Mac)
- It might eat up more system resources, which could slow down your Mac
4. Cloud-Based Solutions: Access Revit Without Installing It
If you’re not into the idea of juggling operating systems on your Mac again and again, cloud-based solutions might be better option for you. Autodesk’s BIM 360 offers a cloud-based version of Revit that can be accessed easily through a web browser (on Mac or any other system). You won’t need to install anything locally, which means you’re free from the clutches of dual-booting (having to switch between multiple operating systems) or virtualization (taking a lot of system resources).
To use Revit via a cloud service:
- Sign up for a cloud-based service like Autodesk BIM 360.
- Upload your Revit project files to the cloud platform.
- Launch Revit through your browser and start working on your projects from anywhere with an internet connection.
Pros and Conns of Cloud-Based Solutions
- No need to install anything on your Mac
- Accessible from any device with an internet connection
- Requires a stable internet connection (good luck with that during a storm)
- Limited functionality compared to the desktop version (almost a routine with web based versions)
- Often come with a subscription fee (Subscription costs for cloud services may add up over time)
What Are the System Requirements for Revit on Mac?
Before you start running Revit through any of these methods, make sure your Mac is up to the task. Here’s what you’ll need:
- macOS 10.13 or newer (High Sierra or later)
- At least 16 GB of RAM as suggested by autodesk itself(Revit is resource-hungry, folks)
- Intel Core i7 processor (2.7 GHz or higher), or something comparable in the Apple M-series chips for Macs with Apple Silicon.
The Final Verdict: What’s the Best Way to Run Revit on a Mac?
Now that we’ve explored the different ways you can get Revit running on a Mac, it’s time to assess which method truly reigns supreme. Each approach has its strengths and weaknesses, and your best choice depends on factors like budget, convenience, and performance needs.

The Final Verdict
Ultimately, the best way to run Revit on a Mac boils down to your specific needs:
- If performance is your top priority and you don’t mind the occasional reboot, Boot Camp is your go-to.
- If you need a seamless experience with the ability to switch between macOS and Windows without restarting, Parallels Desktop is worth the investment.
- If you’re on a tight budget, VirtualBox can get the job done, but expect slower performance.
- If convenience and working from anywhere are most important, then cloud-based solutions like Autodesk BIM 360 are the easiest, though they come with some limitations.
Revit Alternatives for Mac Users
If you’re sick of jumping through hoops just to run Revit, maybe it’s time to consider some Revit alternatives that work seamlessly on Mac.
- SketchUp: A simpler, more intuitive 3D modeling tool that’s great for beginners.
- ArchiCAD: A full-featured BIM software, ideal for Mac users who need an alternative to Revit.
- Vectorworks: Another comprehensive BIM tool, designed specifically for Mac users.
- Rhino: A versatile 3D modeling tool that works great on Mac.
- Blender: While not strictly BIM, Blender is excellent for 3D modeling and rendering.

